Week 4: Computer-controlled Cutting
Press Fit Construction Kit
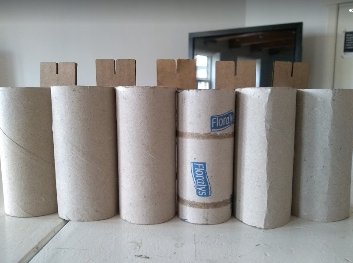
I wanted to make something my kids can play with. I was inspired by them always playing with cardboard boxes. So at first I wanted to make a press fit construction kit with which you could build huts from cardboard. This would mean that I would have to use big pieces of cardboard. As I have so little experience in parametric design and it would take a lot of cardboard, I decided to keep it small. I took it on to design cardboard parts that can connect empty toilet paper rolls. If you have enough rolls, you could build a castle from it.
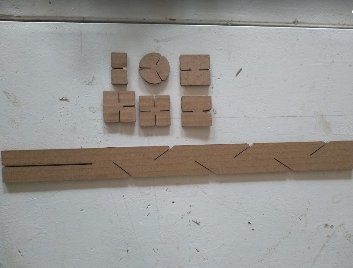
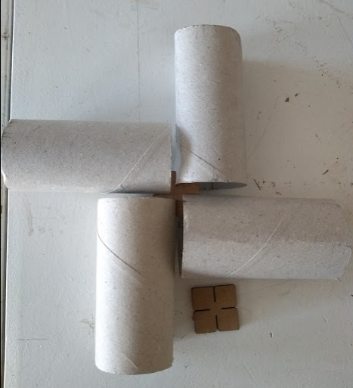
First on paper I designed a few construction parts and tested them cutting them (with sciccors) out of cardboard and trying to connect the rolls with them.
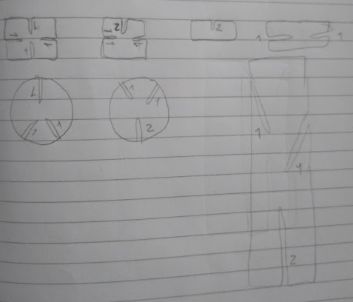
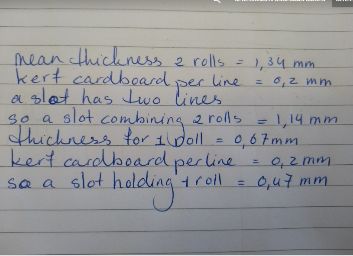
For the design I had to measure the thickness of the toilet paper rolls, so I knew how broad the slots should be. This was for the slots combining two rolls on top of eachother. Also I had to know the thickness of two toilet paper rolls together, to combine the rolls next to eachother. You can see a measurement of two rolls in the picture on the left down here. For accuracy I did the measurement 10 times, combining different rolls and the took the mean. This was 1.34mm. From this I derived the slot thickness for a slot holding one roll and a slot holding two of them. You can see my calculations in the middle picture. (Sorry, kerf per line should be 0.1mm, the rest of the calculations are correct)
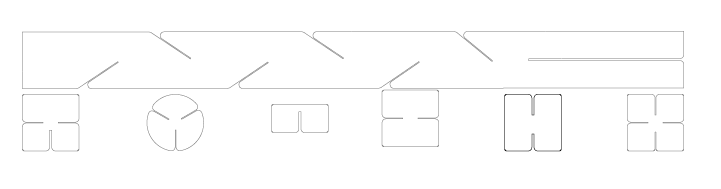
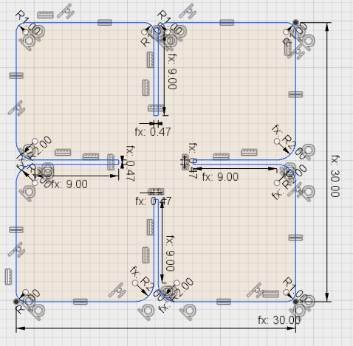
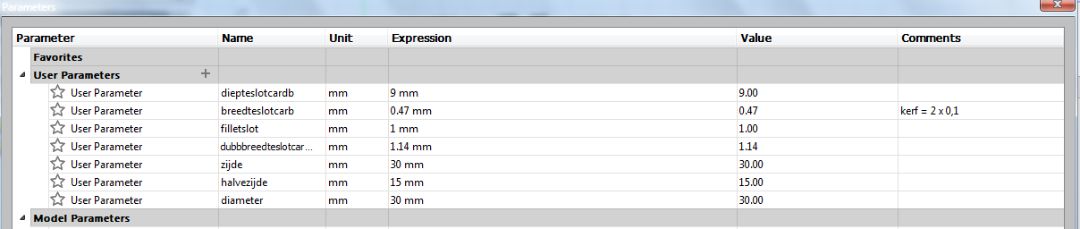
Then it was time to open Fusion 360 and start designing. First put in the parameters for the design, so if you change one slot, all slots are changed accordingly. The parameters I used you see in the screenwide forth picture. The workflow I used for the square and rectangle parts was:
draw two point rectangle
without pressing enter;fill in parameter: zijde
tab
fill in parameter: zijde (or halve zijde)
enter
draw another rectangle without pressing enter
move to overlap one of the squares lines
trim to remove the lines you dont't want
fillet and fill in parameter: filletslot
select the line that defies the with of the slot
press D for dimension
fill in parameter: breedteslotcardb OR dubbbreddteslotcardb for a double width
select the lines that define the depth of the slot
press D for dimension
fill in parameter: diepteslotcardb
select the two lines of the square perpendicular to the slot and make the equal using the 'equal' constrain tool.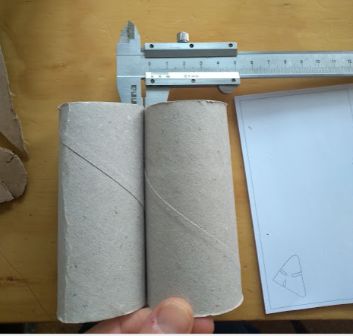
You can download my files here. The password is FabAcademy2018. The DXF file and the f3d file can also be downloaded with these buttons:
DXF file toilet roll construction kit
f3d file toilet roll construction kit
Cutting, testing and adjusting
After designing the parts it was time to cut them with the laser cutter. For this I selected my sketch in Fusion 360, pressed the right button on my mouse and chose safe as DXF. Then I opened Adobe Illustrator and imported the DXF file only to save the file as Illustrator CS6. I put this file on a USB stick to transfer it to the laser cutter computer. The laser cutter we are using is a BRM 1612 laser. On the VC-computer I saved the file in the FabAcademy 2018 folder. There you open the cutter software (Lasercut 5.3) and import your file. Putting the settings for cutting you do by selecting the cutting lines and give them a colour. It looks like the picture on the left:
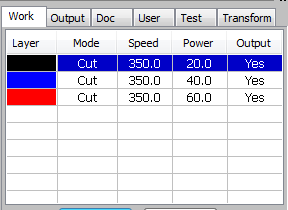
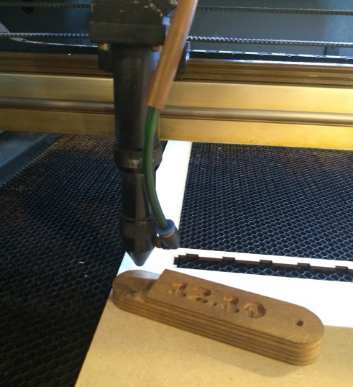
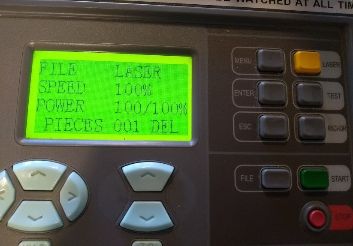
The settings in the picture on the left are not actually my settings, these are settings used for the engraving test. First I tested my own laser settings, drawing a test square. I set Power 150, Speed 90. I put the material in the machine, put the laser on the right spot, using the arrows. The arrows are visible in the picture above on the right. Then I calibrated the heigt of the laser, so that it would have the correct focus. You put a piece of wood underneath the laser and screw loose the laser and fit it on the wood and screw it back. That lookes like picture above in the middle.
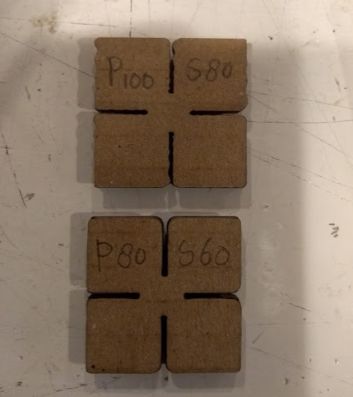
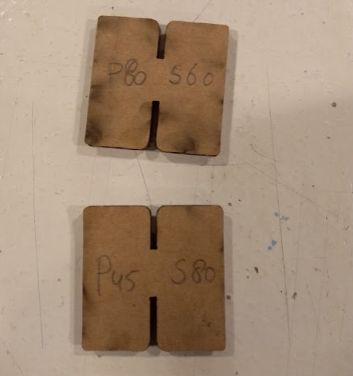
The test with P150 and S90 looked fine, so I imported my file and used the same settings. Unfortunately the result didn't look good. The lines where really wavy, probably due to the speed being to high. On top of that the fillet was to sharp. You can see this in the left picture. I adjusted the fillet to 2mm and also adjusted the cutter settings to P: 100 S:80. The test square again looked good, as you can see from the left picture. But the actual parts didn't. It seems that it has something to do with the smallness of my design or something. The fillet now was okay though. So I adjusted the settings again and tested it directly on my parts. It looked like the middel picture. Finally I wanted a little less charcoal dust on my parts and made a final adjustment: P:45 S:80. This worked fine, as you can see on the upper right picture.

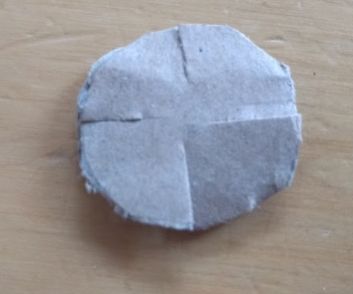
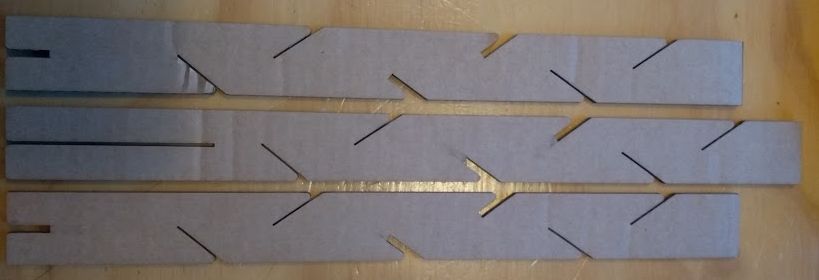
After cutting out all the different pieces I tested them on the toilet paper rolls. It fitted perfectly. Now it was time to cut out lots of them. When I did this, it turned out not all parts where cut completely through. But I had more then enough to make constructions.


Press fitting parts
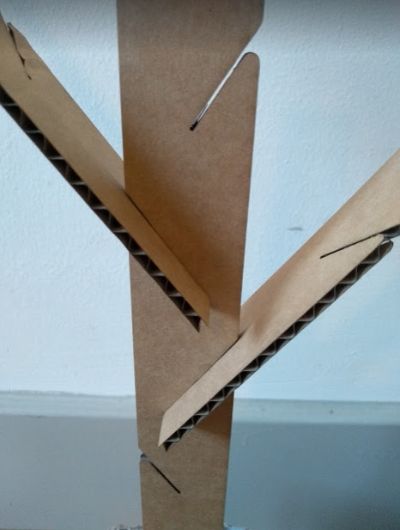
To be sure I met the assignments requirements I designed a part that could fit in the 'tree' I designed. I adjusted the slots using the parameters I set beforehand. It looked like the picture on the left. Then I printed them using P: 50 and S:75 to be sure it would cut all the way trough.
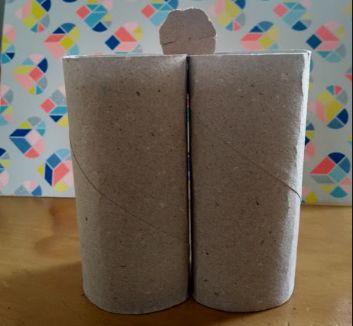
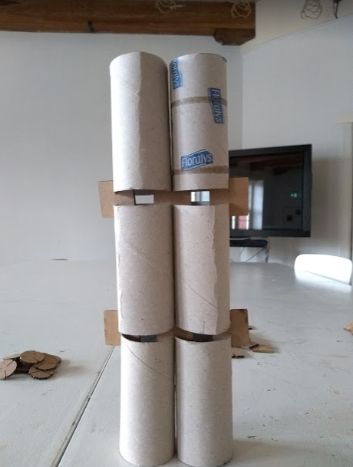
With the parts one can make a toilet paper roll tree as shown below.
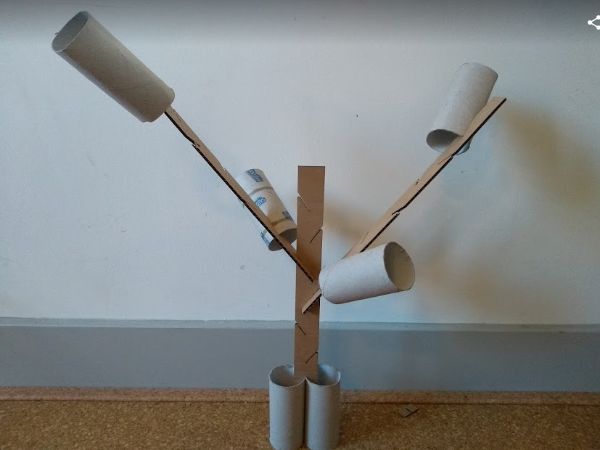
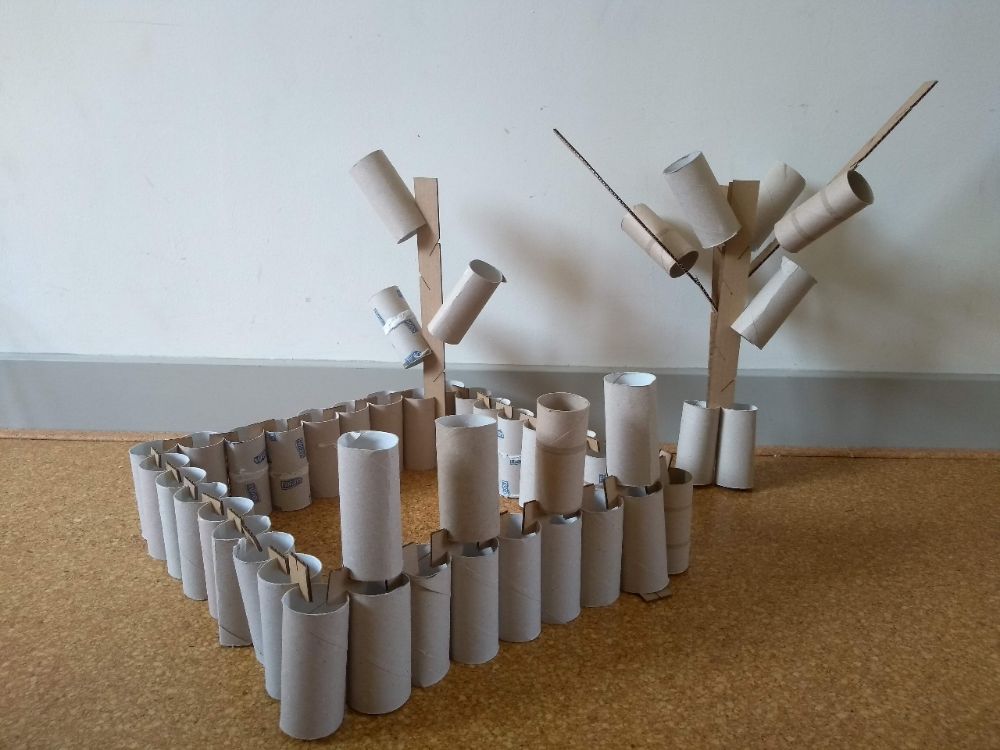
Now off course this onely starts to be fun if you have many many empty toilet paper rolls. Also if I had more time, I would add numbers 1 and 2 next to the slots that are meant to hold one or two paper rolls respectively. I can see the difference in slot width, but my children cannot. And finally if you use a paper roll a few times, the edges get a bit floppy and don't fit the slots anymore. Down here you can download my files.
ai files toilet paper construction kit
cutting stickers
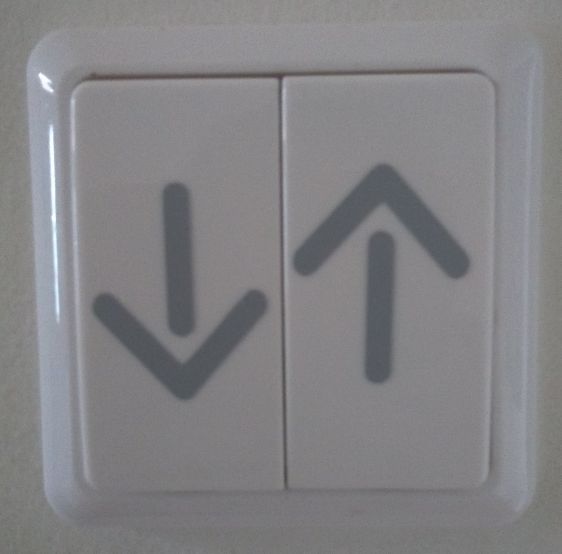
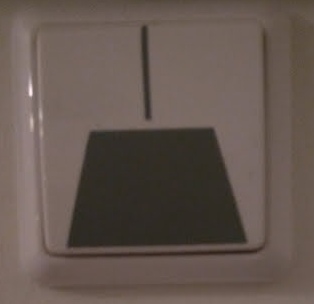
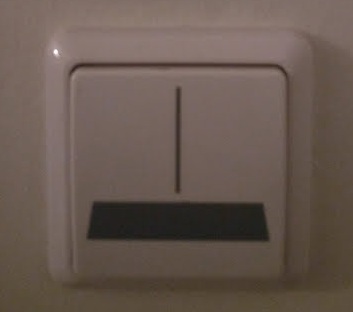
A year ago or so I decided to make stickers for the switches in my house. I could never remember which switch was for which lamp. You can see the examples down here.
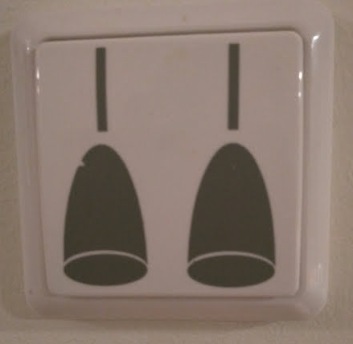
As I made a new lamp shade end of last summer, I need a new sticker. And while I'm at it, I will also draw and cut some arrows to show me if the switch is for the lamp upstairs or downstairs.I drew the lamp in Adobe Illustrator, using the line tool, the pen tool and the elipses. Then used the shaper tool  to get rid of all the lines that I didn't need. I put the stroke to RGB red and the weigt to 0,1 pt. And made sure I expanded the objects. After that it looked like this:

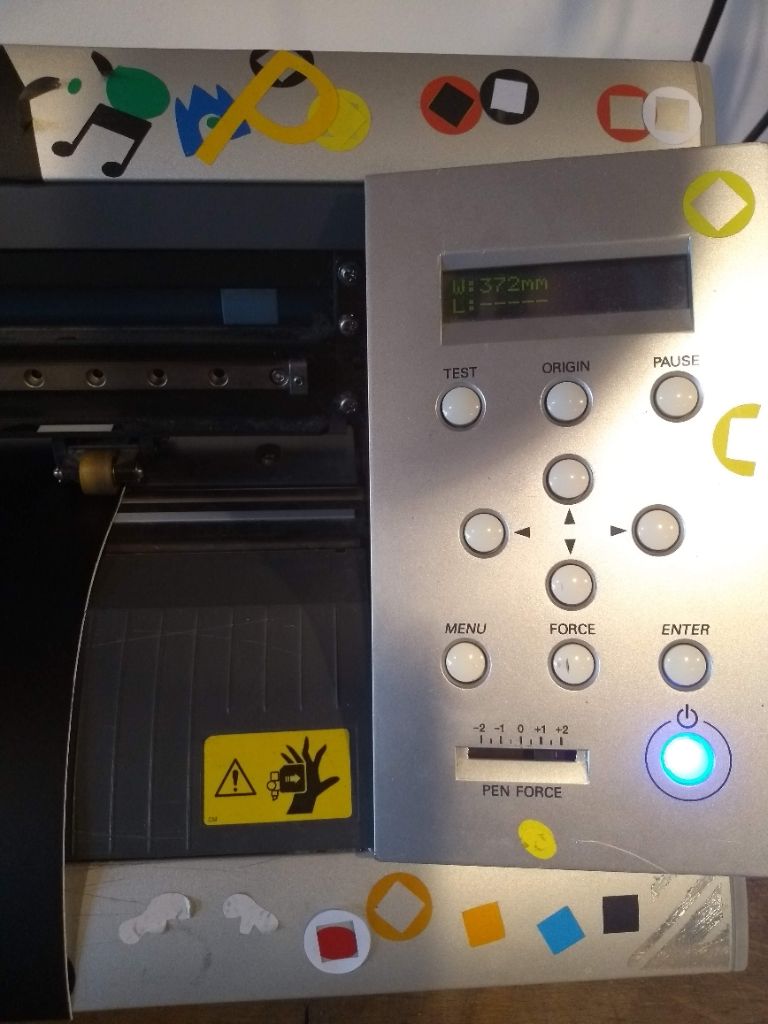
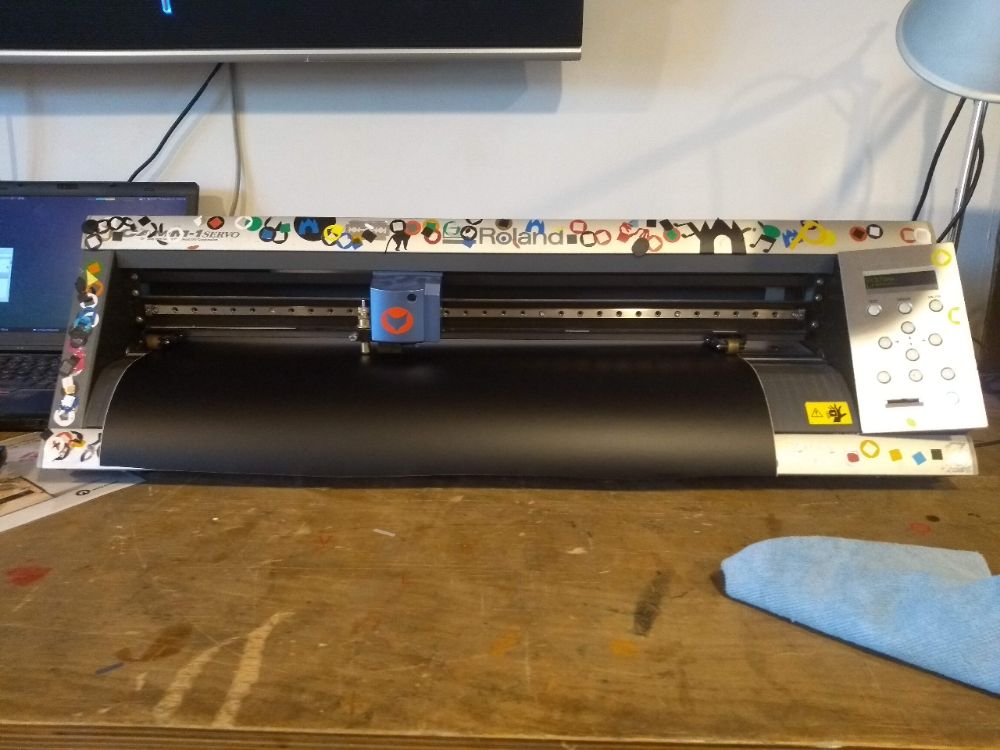
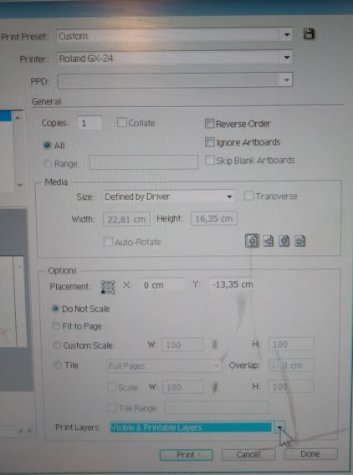
Now it is ready for the vinyl cutter. I transfered the file with a USB stick to the computer connected to the vinyl cutter (VC) and opened it in A.I. The vinyl cutter we are using is a ROLAND CAMM1 Servo. I turned on the VC, made sure the actual knife was there, lifted the wheels of the machine and put in a sheet of vinyl. I placed the wheels in the area's marked with the white stickers. On the menu of the VC I selected 'sheet' (as apposed to roll). The machine will measure the dimensions of the sheet. I checked the settings. The speed was on 4cm/s and Power on 100 gf. First I pressed the Test-button (you should hold it for a second, it responds a bit slow). The vinyl was nicely cut. I turned around the sheet and placed it again and selected 'sheet' again on the VC. Now I could tell the computer to 'print' the document, choosing the VC as a printer. The settings for printing are show in the first picture. When the VC was finished, I peeled away the left over material and placed the transfer sheet. Now it looks like the picture in the middle. I will take another picture when it is placed on the switches at home. My file for this stickers you can find here:
ai file stickers for lamp switches